> ## Documentation Index
> Fetch the complete documentation index at: https://docs.rownd.io/llms.txt
> Use this file to discover all available pages before exploring further.
# Hubspot
The Rownd integration for Hubspot makes it easy to keep your contact list in sync. The integration will automatically create a new contact or update an existing one in your Hubspot account.
#### Setup
The Hubspot integration can be enabled from the [Rownd dashboard.](https://app.rownd.io)
1. From the menu, select **Integrations.**
2. Select the **Connector catalog** tab.
3. From the list of available connectors, click on the **Hubspot**
entry. The connector setup dialog will appear.
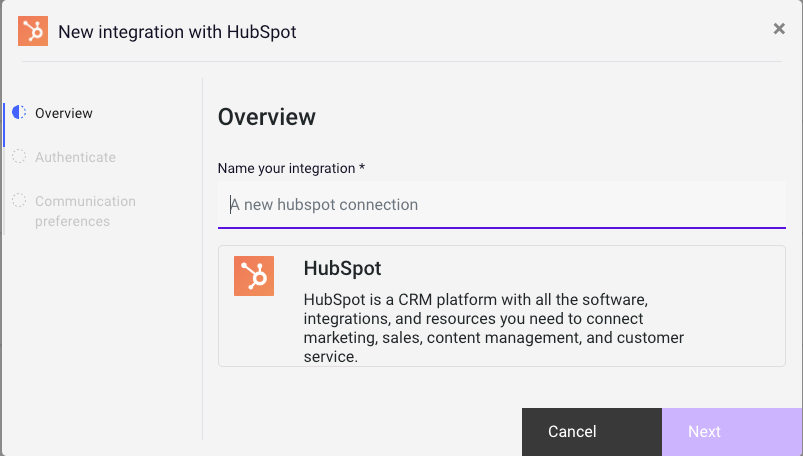
4. Enter a descriptive name and click **Next**.
 #### Authenticate
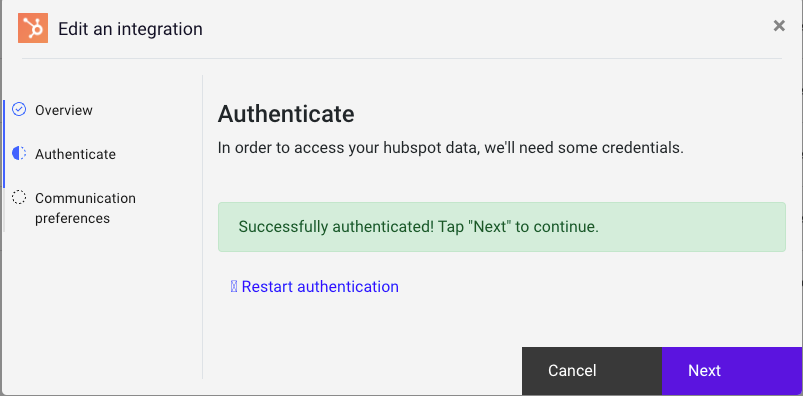
1. Click **Begin authenticate** and log in to your Hubspot account
2. Grant Rownd access to your Hubspot account, and then click **Next**
#### Authenticate
1. Click **Begin authenticate** and log in to your Hubspot account
2. Grant Rownd access to your Hubspot account, and then click **Next**
 ### Optional setting
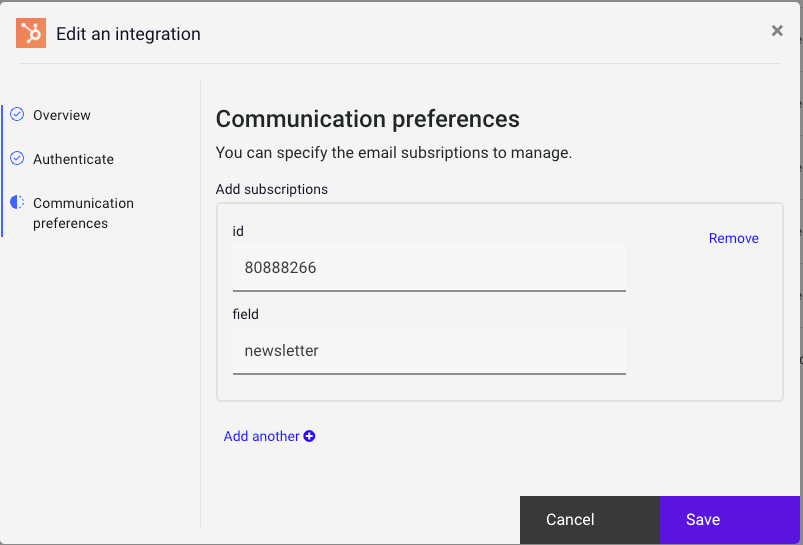
To manage email subscriptions, specify the subscription id and the data field to map.
### Optional setting
To manage email subscriptions, specify the subscription id and the data field to map.
 4. Click **Create** to create the connection.
The dialog should indicate that the integration was created successfully. Now that the connection exists, we need to attach it to an application.
#### Attach to an application
1. From the Integrations table, click the overflow icon on your new Integration
and select **Attach to application**
2. Choose the application from the selector and click **Next**
3. Map data between the Rownd application and your new Integration
A mapping for the `email` field is required. Rownd uses this field to identify
and search for existing subscribers in your Hubspot account. Rownd can only manage fields for which you have provided a mapping.
4. Click **Save.**
After a moment, the attached application should appear in the row next to the
connection. Once this occurs, data updates should begin flowing through the
integration.
4. Click **Create** to create the connection.
The dialog should indicate that the integration was created successfully. Now that the connection exists, we need to attach it to an application.
#### Attach to an application
1. From the Integrations table, click the overflow icon on your new Integration
and select **Attach to application**
2. Choose the application from the selector and click **Next**
3. Map data between the Rownd application and your new Integration
A mapping for the `email` field is required. Rownd uses this field to identify
and search for existing subscribers in your Hubspot account. Rownd can only manage fields for which you have provided a mapping.
4. Click **Save.**
After a moment, the attached application should appear in the row next to the
connection. Once this occurs, data updates should begin flowing through the
integration.