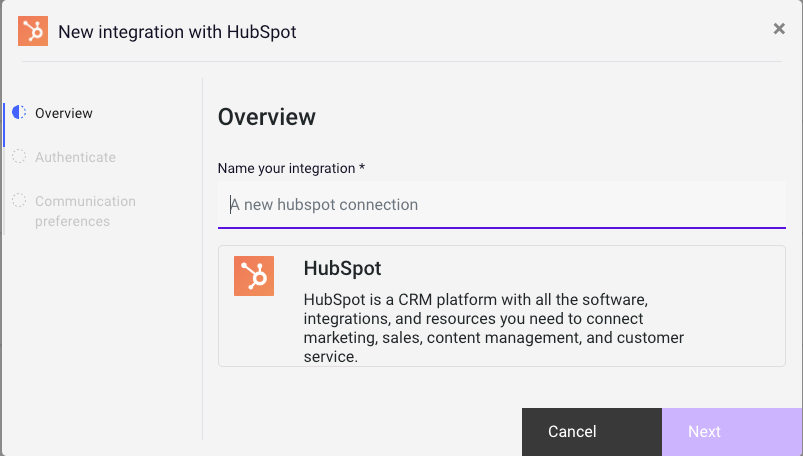
Setup
The Hubspot integration can be enabled from the Rownd dashboard.- From the menu, select Integrations.
- Select the Connector catalog tab.
- From the list of available connectors, click on the Hubspot entry. The connector setup dialog will appear.
- Enter a descriptive name and click Next.
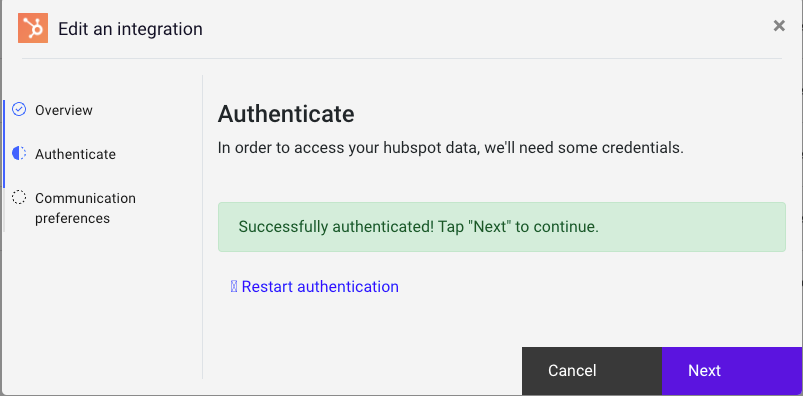
Authenticate
- Click Begin authenticate and log in to your Hubspot account
- Grant Rownd access to your Hubspot account, and then click Next
Optional setting
To manage email subscriptions, specify the subscription id and the data field to map.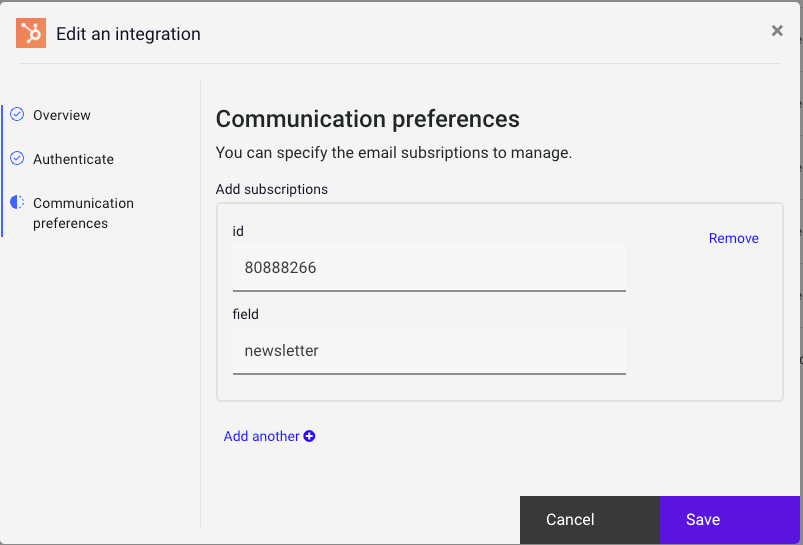
- Click Create to create the connection.
Attach to an application
- From the Integrations table, click the overflow icon on your new Integration and select Attach to application
- Choose the application from the selector and click Next
- Map data between the Rownd application and your new Integration
A mapping for the
email field is required. Rownd uses this field to identify
and search for existing subscribers in your Hubspot account. Rownd can only manage fields for which you have provided a mapping.- Click Save.